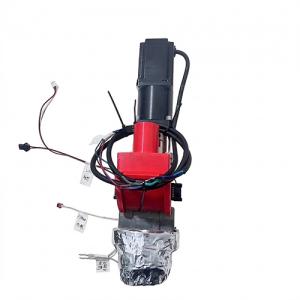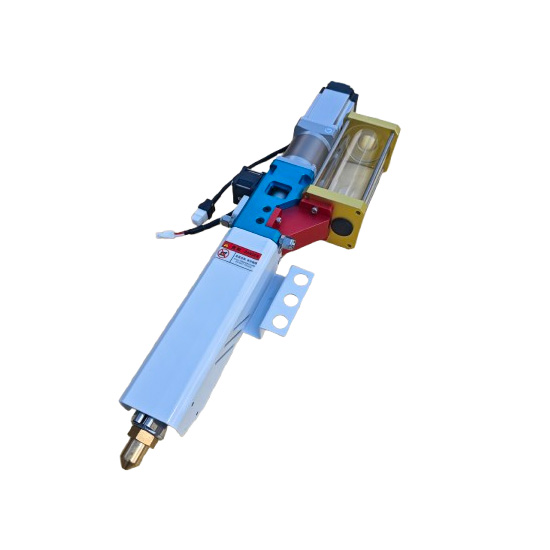
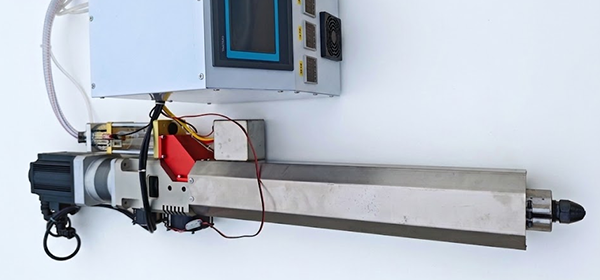
Pellet extruder
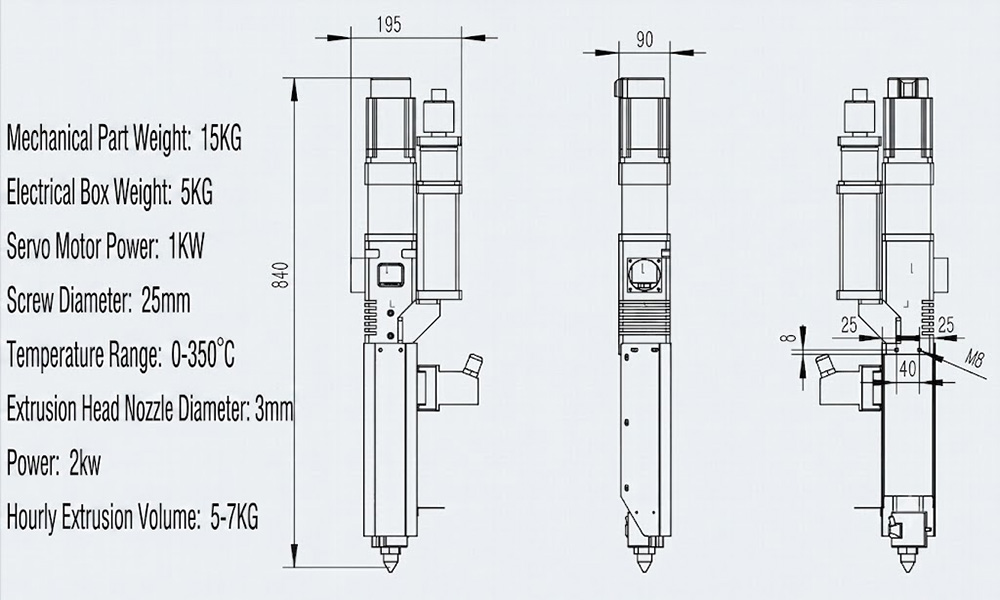
Servo motor pellet extruder weight: 6Kg
Electric control box weight: 5Kg
Power: 1Kw
Servo motor: 400w
Extrusion capacity per hour: 3Kg
Temperature: 0-350 degrees
Feeding method: active suction
Extrusion head hole diameter: 1.5mm-3mm

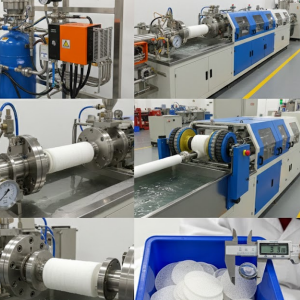
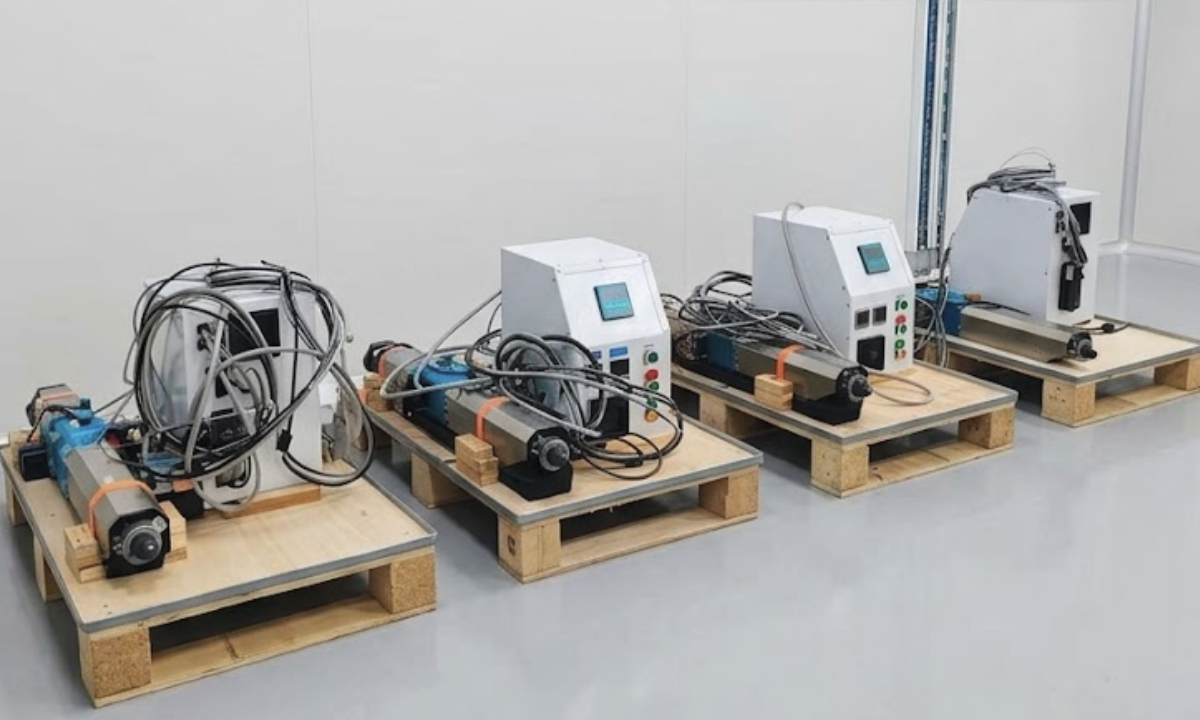
The following vertical pellet extruders from version 1 to version 2 are for reference.

Pellet extruder for large-format 3D printing

PE6000S without Auto Feeding, PEA6000 with Auto Feeder
New design with slope for gravity pellet feeding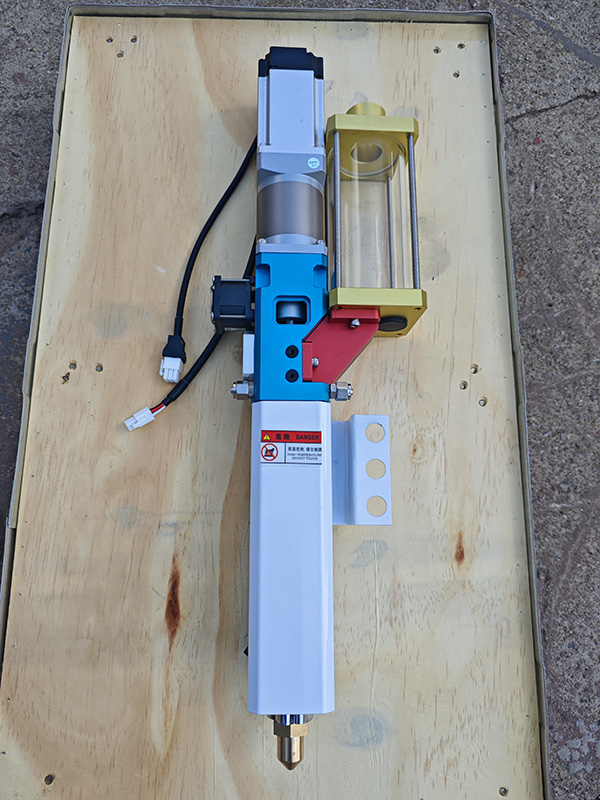
Large Format Additive Manufacturing
RobotDigg Pellet Extruder, integrating a robot arm and using carbon fiber (CF) materials transforms a standard extrusion setup into a high-end Large Format Additive Manufacturing (LFAM) system.
The following guide provides technical insights to help you successfully transition from desktop printing to robotic carbon fiber extrusion.
1. Robot Arm Integration: Mechanical & Electrical
Integrating the pellet extruder onto a robot arm (like KUKA, ABB, or Fanuc) requires bridging the gap between a 6-axis motion controller and a 3-zone extrusion system.
Payload Management: The RobotDigg pellet extruder, including motor and pellets, can weigh significantly (approx. 15–25kg depending on the motor/gearbox). Ensure your robot has a payload capacity at least 30% higher than the total weight to handle the dynamic inertia during rapid movements.
The "Seventh Axis" Control: * Step/Dir to Analog: Most industrial robots output 0–10V analog signals for external speed. Since the RobotDigg pellet extruder control box typically expects digital signals, you may need a Voltage-to-Frequency converter or a PLC to translate the robot's speed command into pulses for the extruder's servo driver.
Synchronized Flow: For high-quality prints, the extrusion speed must be "slaved" to the robot's Tool Center Point (TCP) velocity. If the robot slows down for a corner, the extruder must decelerate instantly to prevent bulging.
Cable Management (The Dress Pack): Use a high-flex "umbilical cord" for the 3-zone heater wires and motor cables. Ensure the cable package has enough slack for the robot’s Wrist (Axis 6) to rotate 360° without tension.
2. Printing with Carbon Fiber (CF) Pellets
Carbon fiber reinforced polymers (CF-ABS, CF-PETG, CF-PEEK) offer high stiffness and low thermal expansion, but they are highly abrasive.
Abrasive Wear Protection:
Nitrided Components: The standard extrusion screw is nitrided, but for 24/7 CF printing, request a Bimetallic Barrel. Carbon fiber will "sand down" a standard steel barrel, increasing the tolerance between the screw and wall, leading to pressure loss and inconsistent flow.
Hardened Nozzles: Standard brass nozzles will enlarge within hours of CF printing. Always use Hardened Steel or Tungsten Carbide nozzles.
Thermal Management:
Fiber Alignment: In pellet extrusion, fibers align along the toolpath. This makes the part extremely strong along the print line but potentially weak between layers.
Heat Soaking: CF materials often require higher processing temperatures. Ensure the RobotDigg pellet extruder band heaters are insulated with ceramic tape to maintain stable temperatures in a robot cell that may have high airflow.
3. Advanced Toolpaths: Non-Planar & Curved Slicing
One of the primary reasons to use a robot arm is to move beyond flat layers.
Strength Benefits: By tilting the extruder at a 45-degree angle (Non-Planar printing), you can align the carbon fibers across stress points, significantly increasing the structural integrity of furniture or automotive parts.
The Gravity Challenge: As noted in the technical specs, when tilting the RobotDigg extruder, always tilt toward the feed throat. If you tilt "away" (motor-down), the pellets may bridge in the hopper and stop feeding.
Software Ecosystem: Use specialized LFAM software like Adaxis (AdaOne), AiBuild, or Rhino/Grasshopper (with Robots plugin). These tools handle the complex "Inverse Kinematics" needed to keep the nozzle perpendicular to a curved surface while managing the variable flow rate.
4. Operational Best Practices
Pellet Drying: Carbon fiber pellets are hygroscopic. Damp pellets will cause "popping" (steam) in the barrel, leading to voids in your print. Use a Hopper Dryer or a standalone vacuum dryer before feeding the material.
First Layer Adhesion: For large CF prints, use a heated bed or a specialized build surface (like PEI or a wood-composite board). The high stiffness of CF makes it prone to "warping" if the first layer cools too quickly.
Safety: Always implement an External E-Stop that cuts power to both the robot and the extruder heaters. If the robot stops but the extruder keeps running, it can cause a "blob" that may damage the robot's joints upon restart.
By combining the RobotDigg high-torque output with the 6-axis freedom of a robot, you can produce industrial-grade carbon fiber components that are impossible to create on standard 3-axis machines.
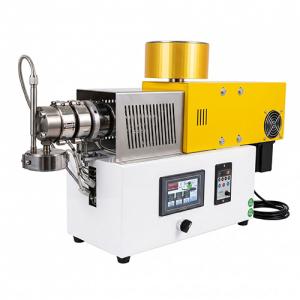
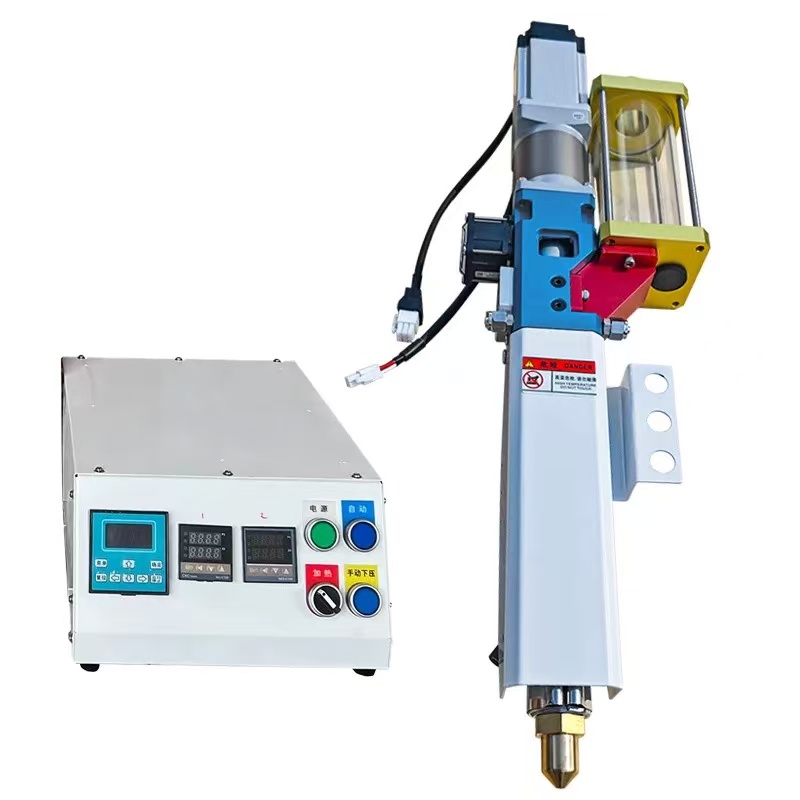
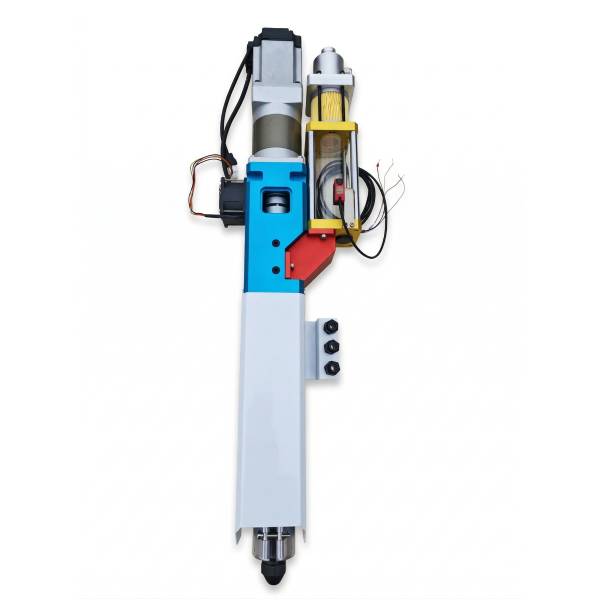
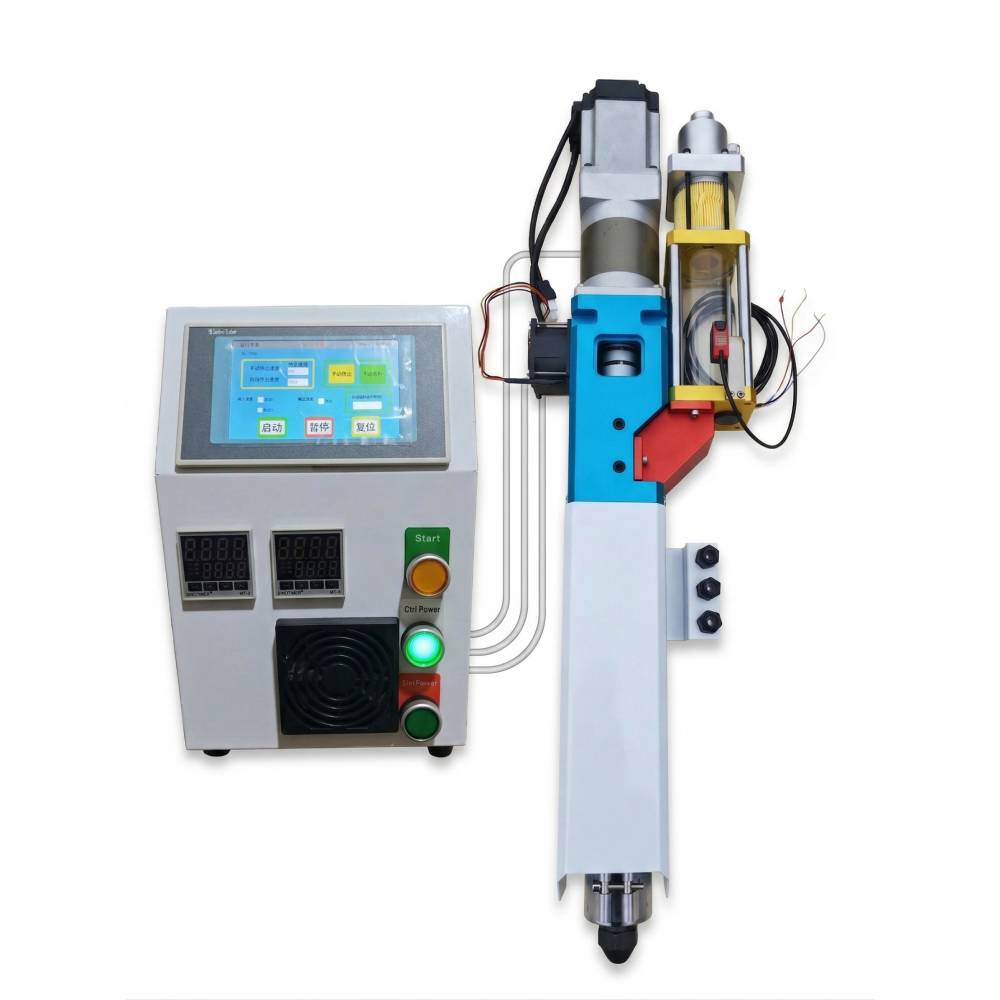
Pellet extruder with auto feeding
PEA3000 and PEA6000 both models feature an Auto-Feeder (the yellow/transparent cylinder component attached to the side).
Vacuum/Pneumatic Suction: It automatically pulls pellets from a bulk container into the hopper.
Level Sensors: Prevents the extruder from running dry by maintaining a consistent pellet volume in the throat.
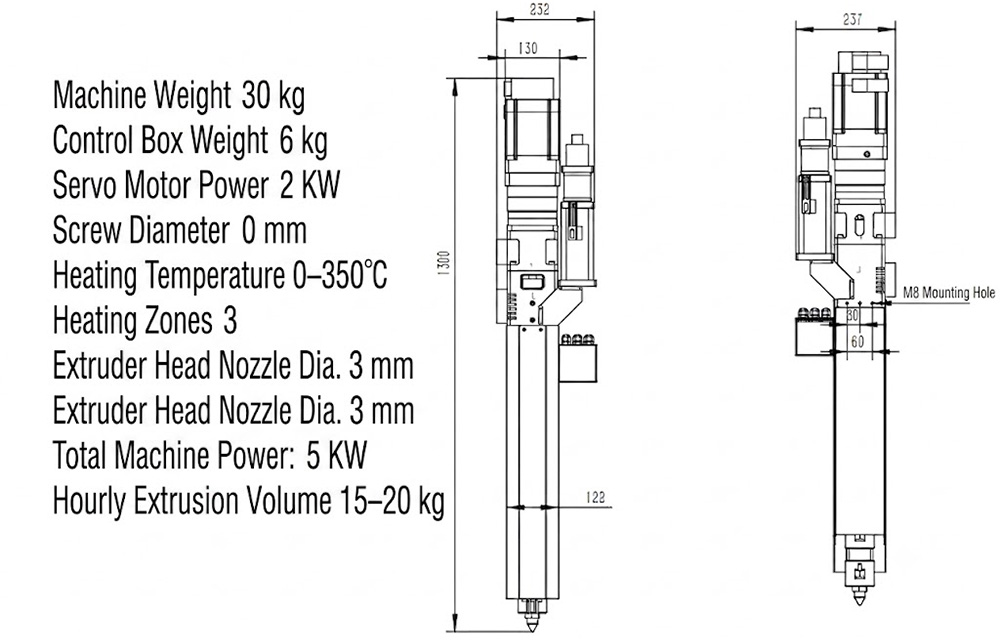
PEA15000 pellet extruder
Technical Specifications:
Mechanical Weight: 30 kg (66.1 lbs)
Control Box Weight: 6 kg (13.2 lbs)
Servo Motor Power: 2 kW
Screw Diameter: 30 mm
L/D Ratio (Length-to-Diameter): 23:1
Heating Temperature: 0–350 °C (32–662 °F)
Heating Zones: 3 zones
Nozzle Diameter (Extrusion Die): 3 mm
Total Machine Power: 5 kW
Extrusion Output: 15–20 kg/hour (33–44 lbs/hour)
The largest pellet extruder you can find in the world.